ENGINEERING PICS
ENGINEERING PICS
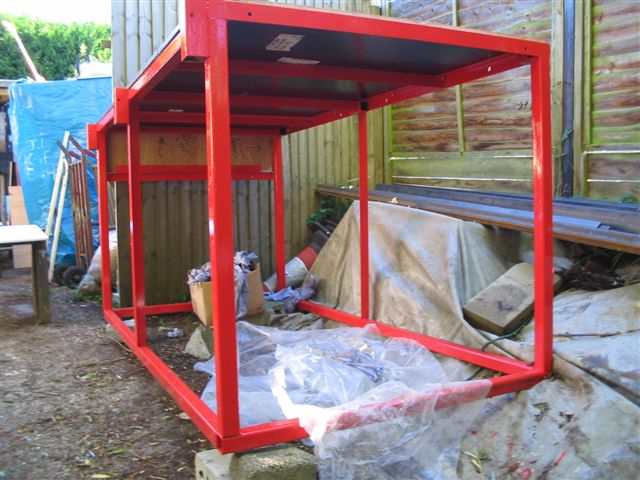
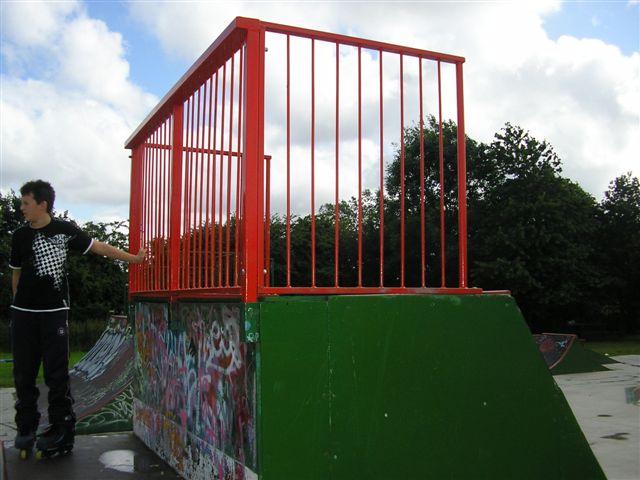
Below is a 4ft frame, nicely showing the handrail brackets at the rear. This was an early model, with a box frame at the bottom, and had lugs welded to it for bolting to the floor. The later ones had angle rails at each end, drilled for bolting to the floor. You can also clearly see the three holes on the front top rail where the ramp will bolt on.

This shows the underneath of the 5ft flatbank, and shows how it only consists of two box rails, with a cross brace, and has no frame of its own, it is just bolted to the deck frame. Note the overlap of the deck ply at the edges.
This is the 4ftx3ft deck for a small flatbank, again an early one with mounting lugs.
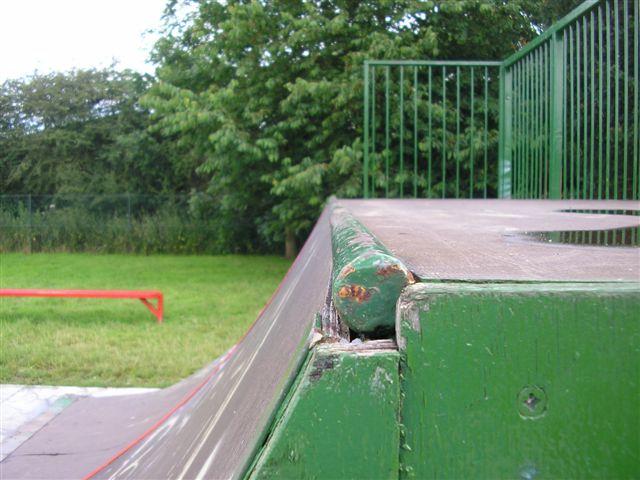
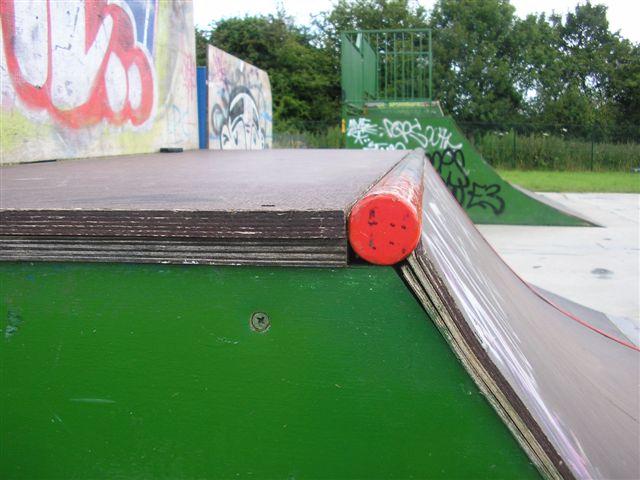
Above is a 37mm coping
We chose 37mm coping by trial, it gives a perfect 12mm edge above the deck level for dropping in, and the same 12mm ridge at the top of the ramp
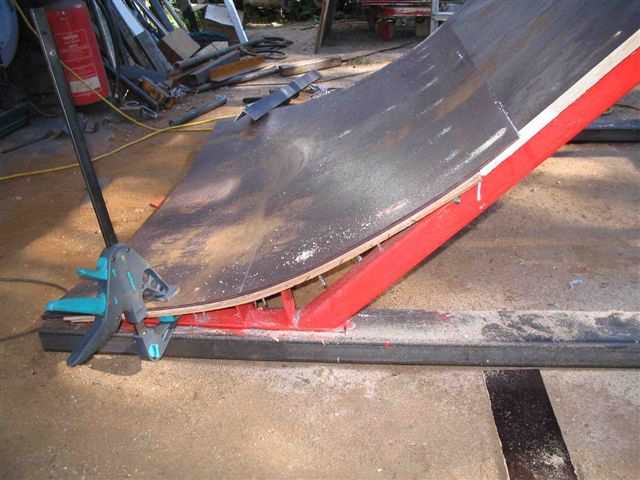
We wanted a steep 5ft flatbank, but the transfer to the concrete was too tight, so we put this curved end on the ramp. Works well.
Shows 2mm Zintec steel plate, screwed to the ramp, and to the concrete, with a slight curve
Sample Photo 6

Handrails are easier to fabricate if the top and bottom rail are marked and drilled equally, and the bars cut slightly long, and inserted into the holes before welding. Much stronger than butt-welding onto the flat steel.
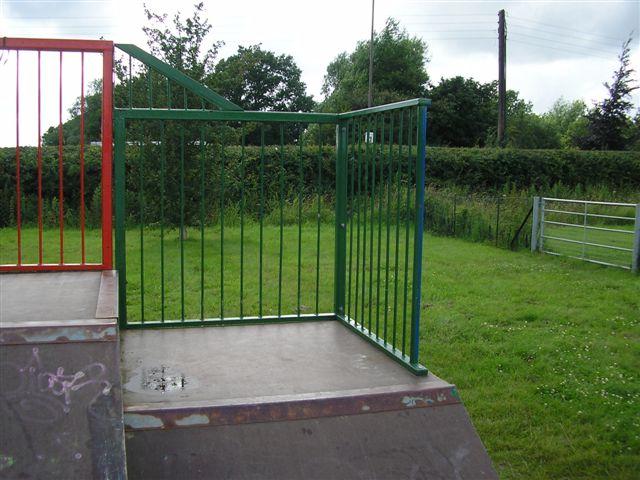
The handrail shown here is in two sections, the rear that fits into the two brackets at the rear, and the side, which bolts onto the rear, and has one mounting bolt at the front drilled right through the deck. The handrail must be minimum 1 metre high, unclimbable, and the bars spaced at 89mm. The side section must be set back 500mm from the edge of the ramp.
Another handrail section that clearly shows the 500mm setback from the ramp edge
50mm coping
PAS35 says that coping should be 50mm, but we found that we had to raise the 18mm deck by another 18mm, to get the required 12mm height, otherwise the coping doesn't work.
Sample Photo 10

Clamping the 6mm ply to the quarter pipe frame using 9ft box sections and clamps
Showing side of the same quarter pipe, and showing our trade secret way of making the curved frame
Sample Photo 12
Quarter pipe before cladding, showibg the curved formers and their support rails
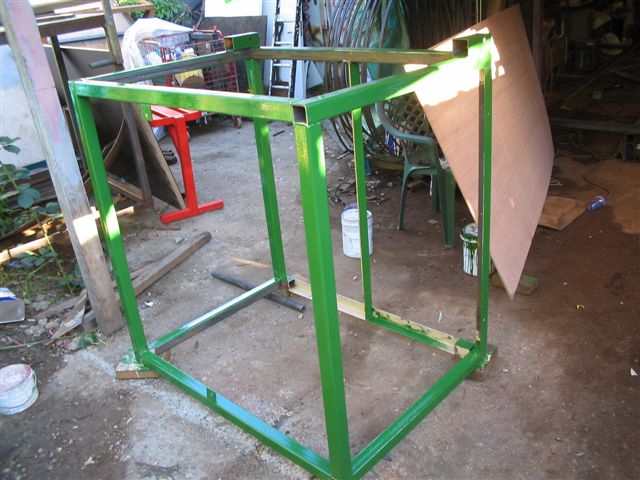
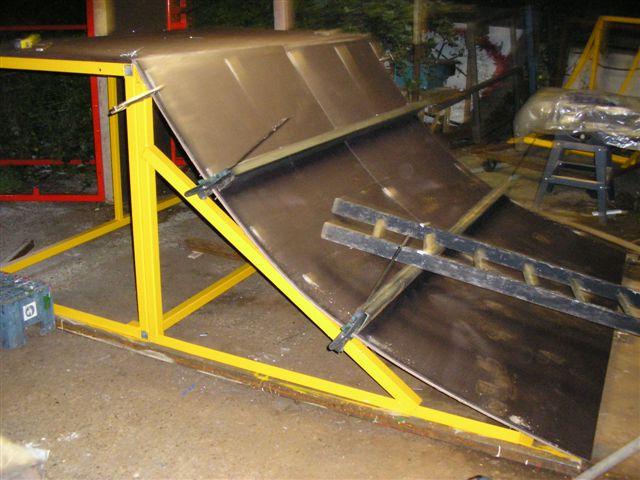
Fanbox frame
We started with a standard 2ft high funbox with end ramps. Then build a full length side ramp frame to the same angle and length. It is then a simple matter to build the corner infill frames to suit. To try and work out a cutting list by maths was beyond our capabilities.